


Január, 2019
Fuji Velvia:
How to Work with Slide Film
Introduction, main point, conclusion; breathe – you have 45 minutes, then, like in school, a bell rings.
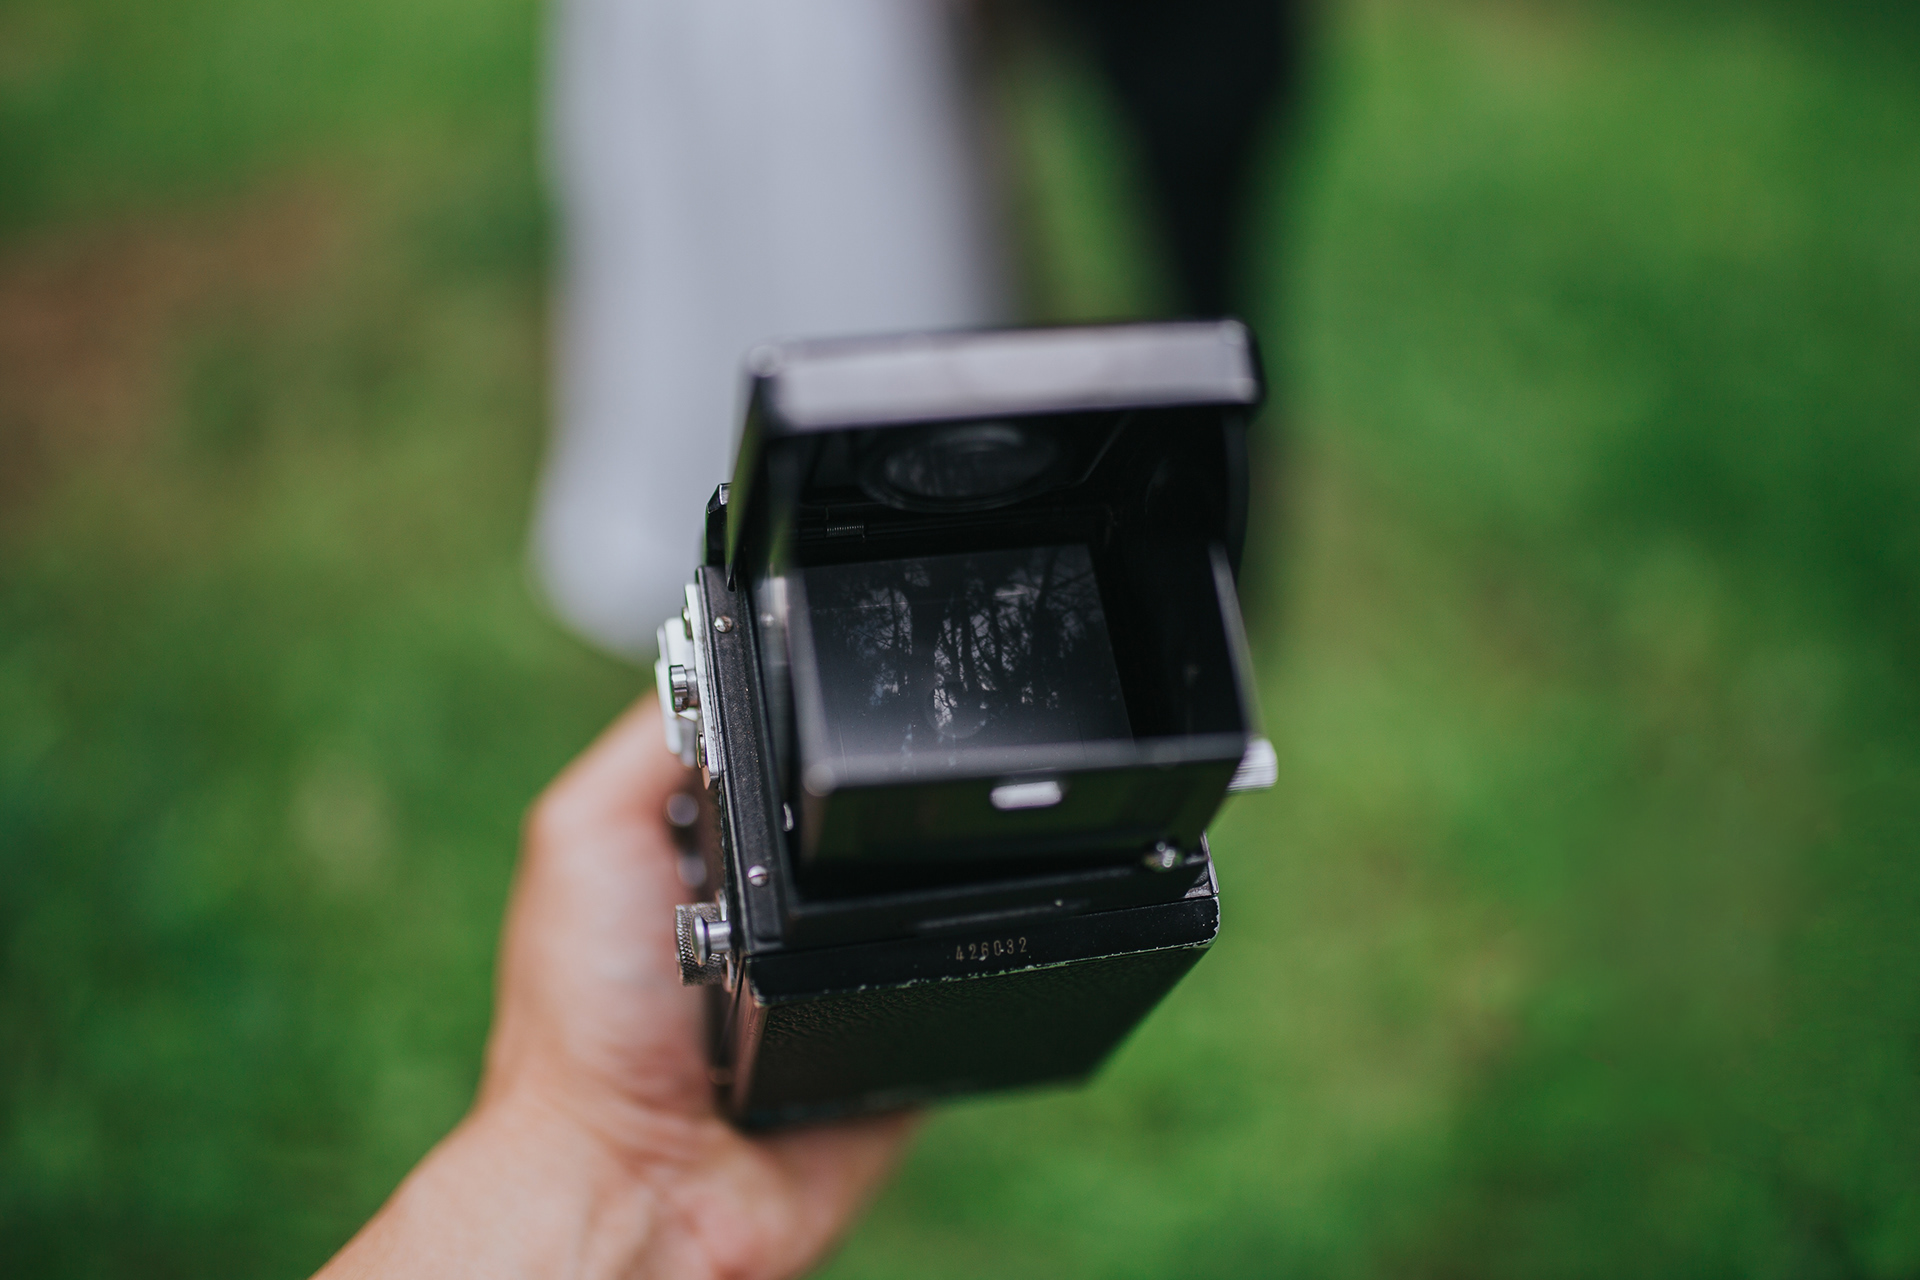
Introduction. The word “blog” is a bit boring so I am going to use its French version “le blog”. Just pronounce it, don’t read it. Le blog. And those who write les blogs are les blogeurs. Beautiful. My first le blog. And now a bit of nostalgia. My grandfather was an amateur photographer who, during my childhood in 90’s, was taking photos on a slide film. Also, I did not know back then what does it mean (similarly as nowadays) but I memorised that by looking into that little box, I see myself (“Mark”, yes, that is me, note of the author “here you are wearing winter pants in the snow”) in colours and exactly the same as on the printed photo. Plus, we stocked those little boxes into the projector. I remember the smell and its soft sound as it was today.
Therefore, I searched for this kind of film material that allowed it. I wanted to know what was actually going on in there. I will make it short – I found out that a slide or, more precisely said a reverse film, has a positive picture of a scene. It is thus suitable for screening which was its essential advantage during the period before digital era. Happy I am.
If you are very diligent and it attracts you how does it all work, sketch from Britannica who will clarify to you a bit more complicated process called E-6.
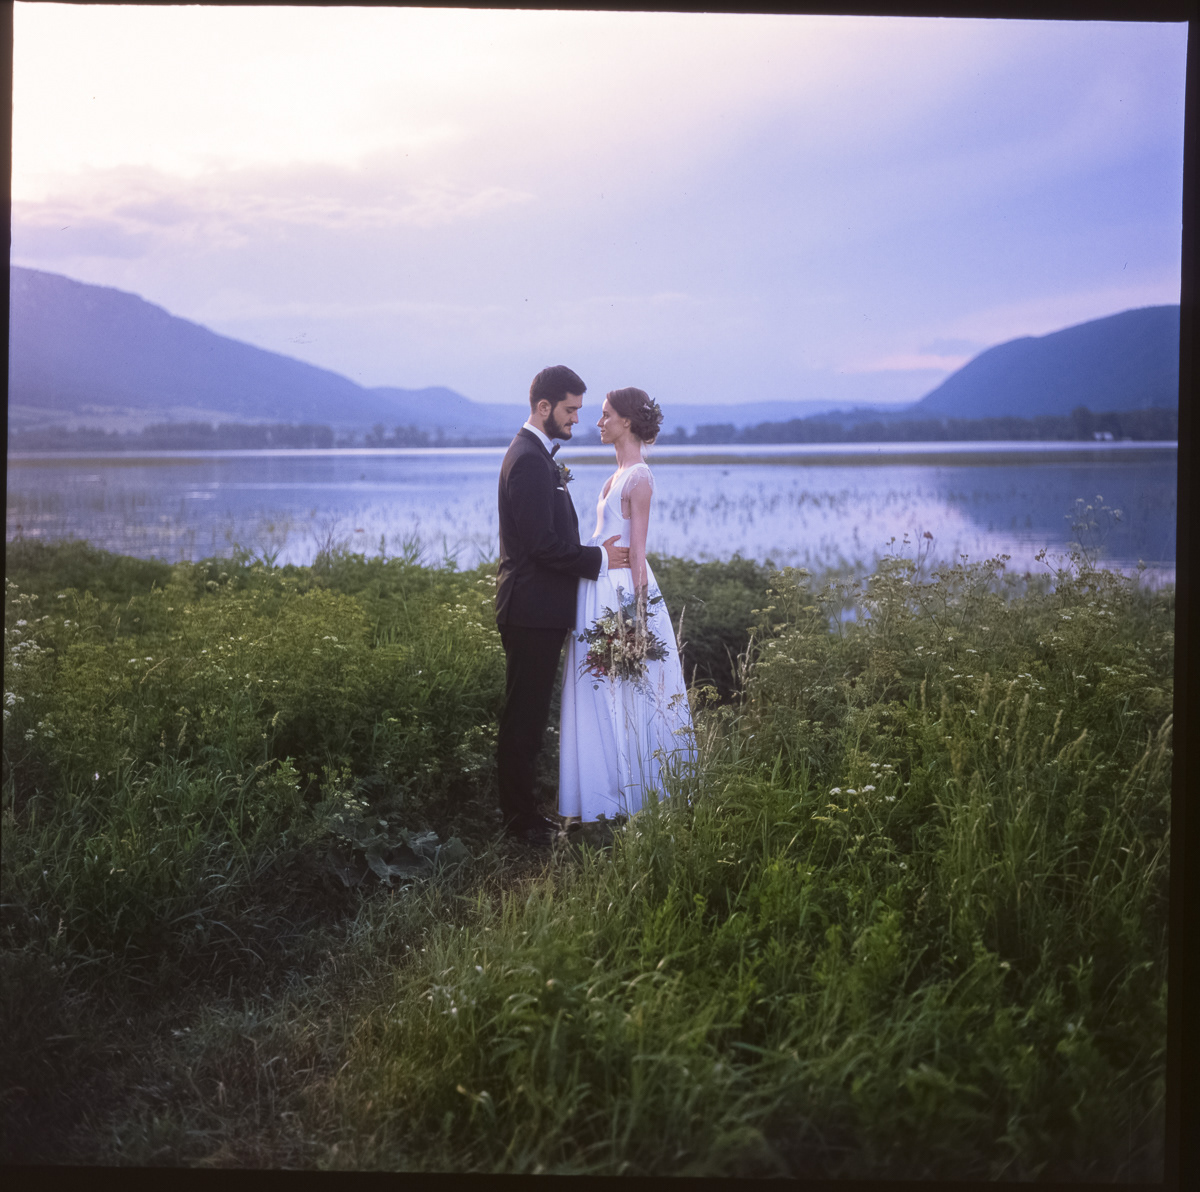
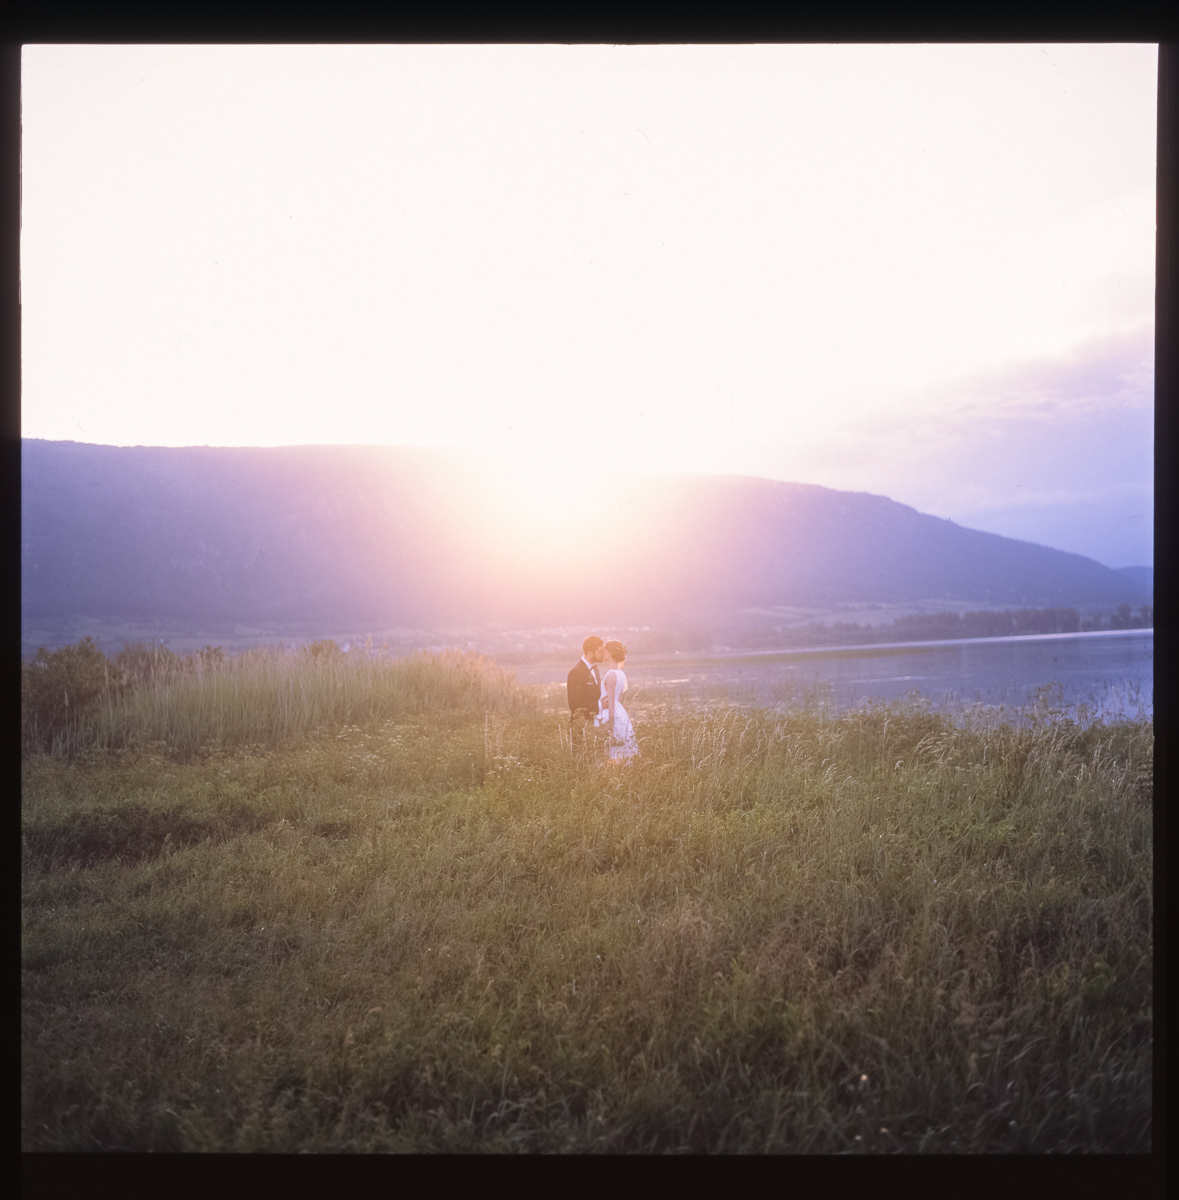
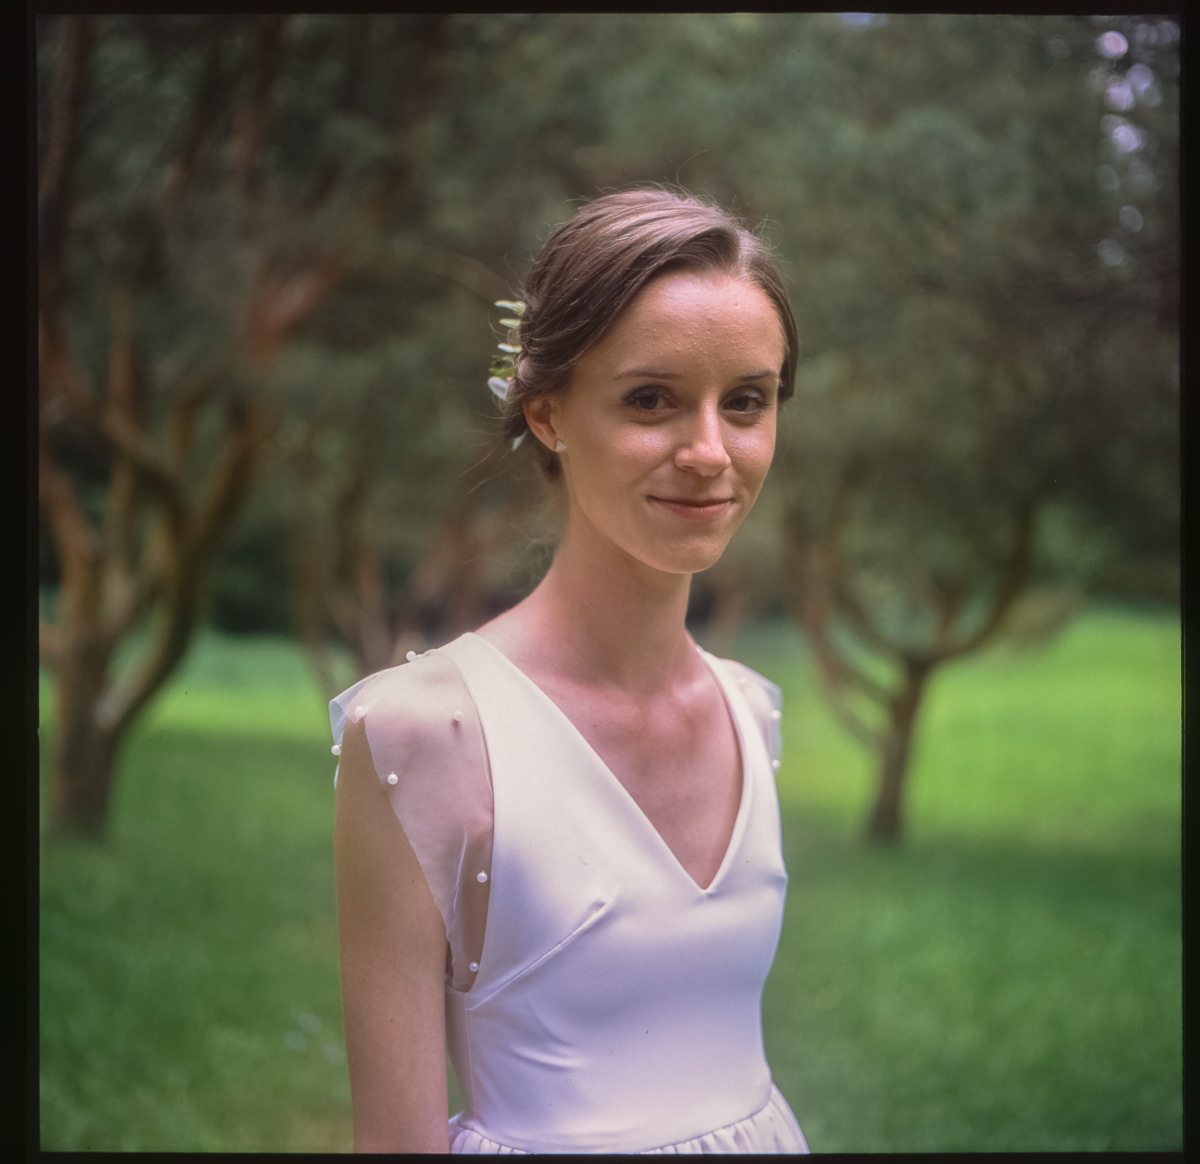
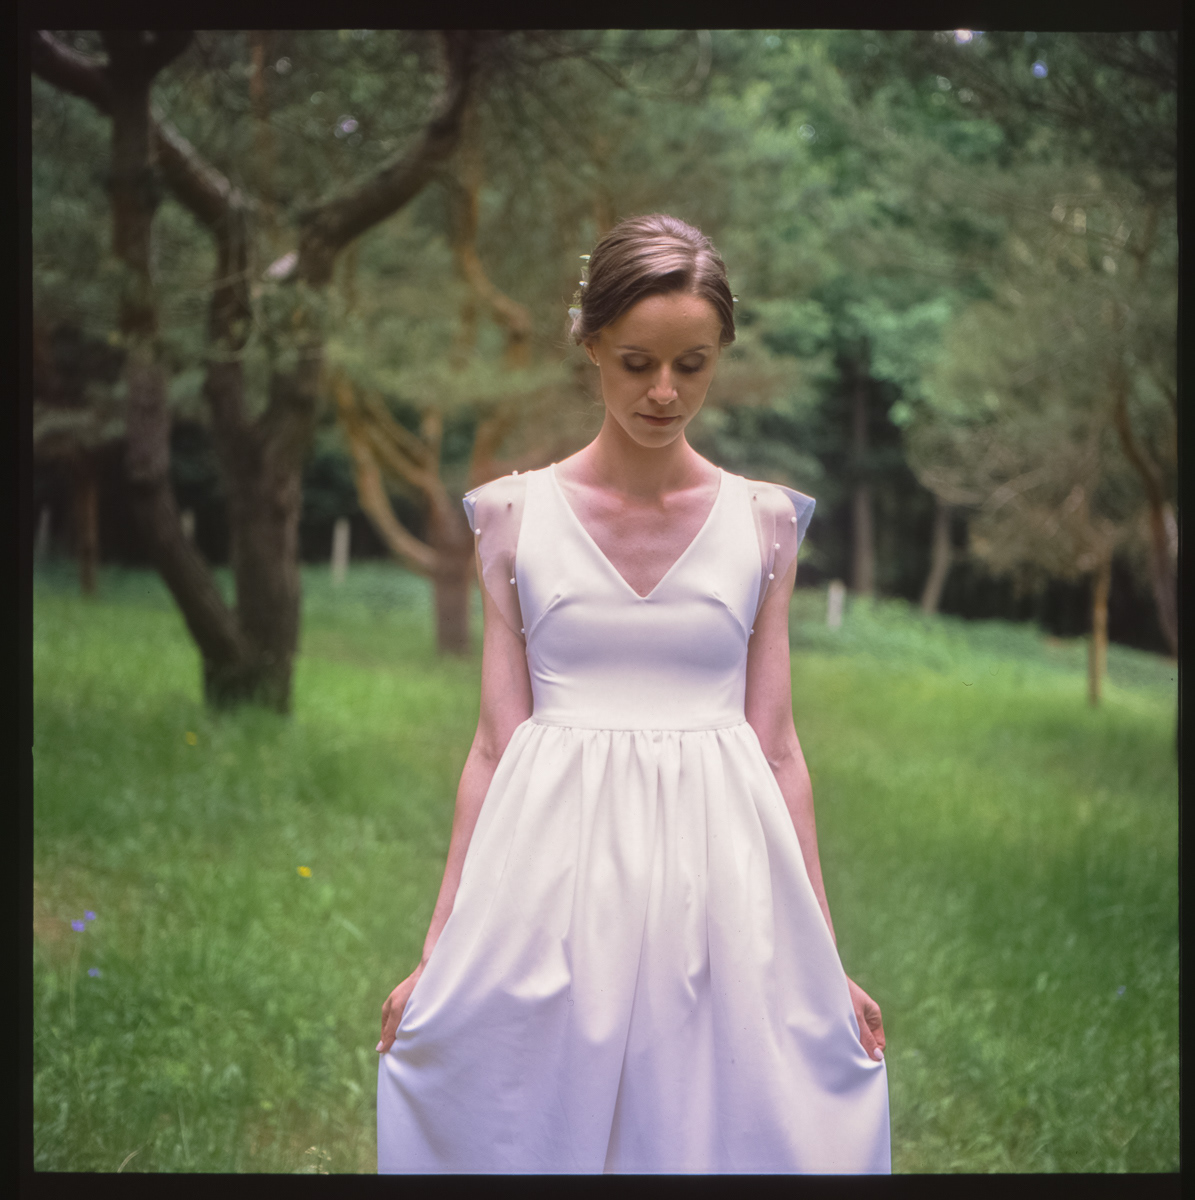
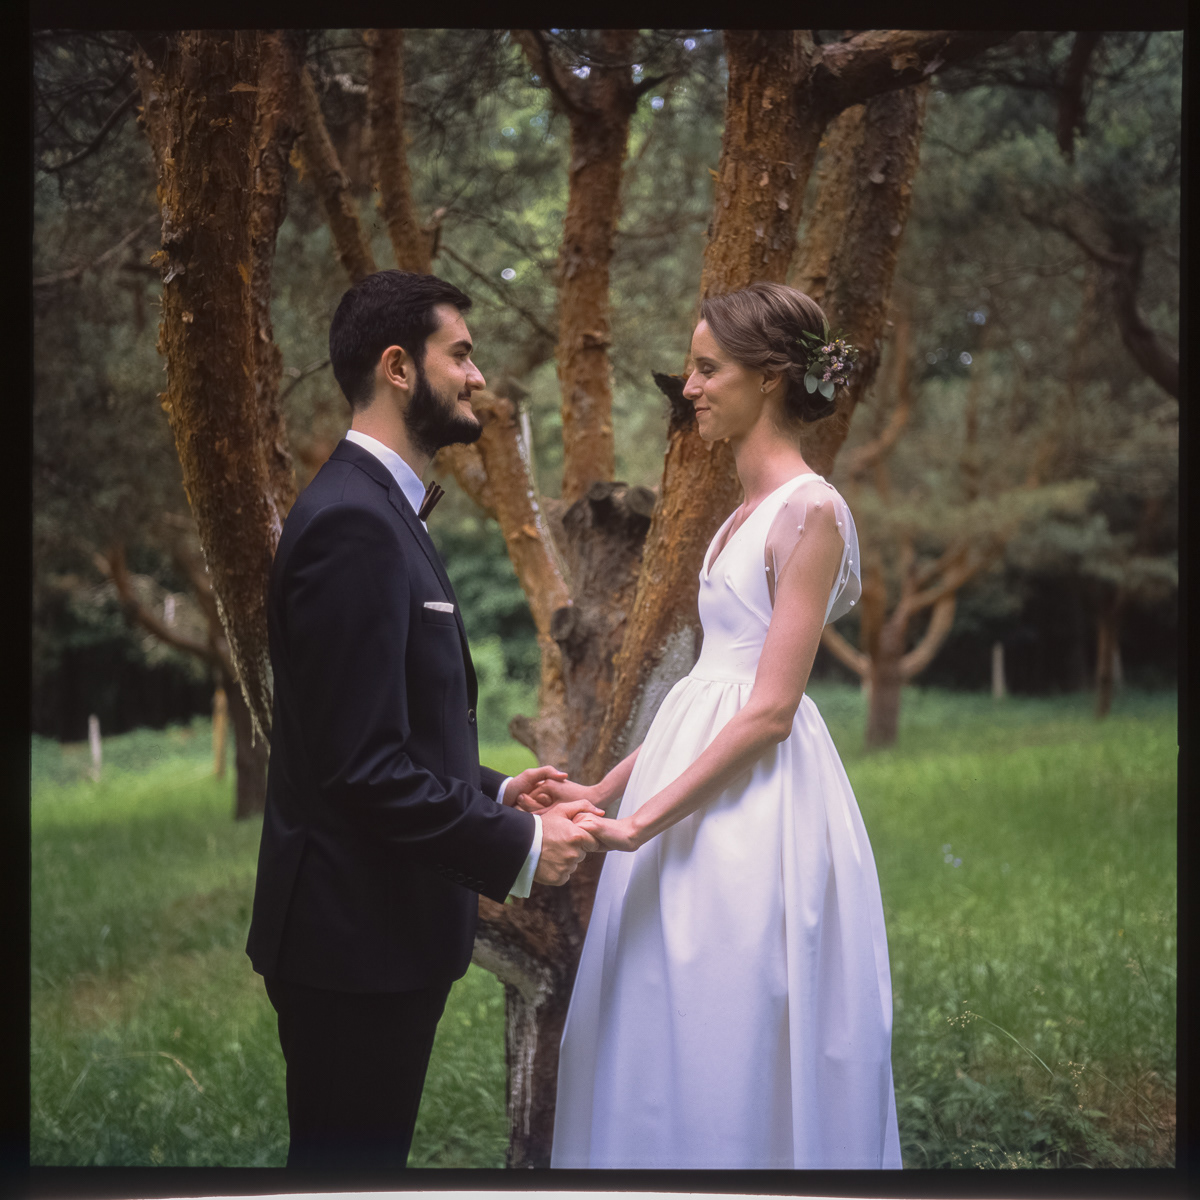
Let’s get to the main point. I have chosen Fuji Velvia RVP 100 120 (and 35mm), that is an inverse film in rolls and I cite the seller: “exhibits incredibly high colour saturation with minimum colour instability in different light situations, high image quality, with super fine grain, exact colours rendering and very high sharpness.”
Why Velvia? Purely subjectively – it is not as boring as Provia, and simply put – because of its pink colour. The word Velvia comes from the word “Velvet Media” which means smooth structure of an image. The difference between RVP (Reversal/Velvia/Professional series) 100F and RVP 100 can be found on wikipedia and the examples of RVP 100 on Flickr. Nice discussion about Velvia 50 vs. 100 with illustrations can be found here.
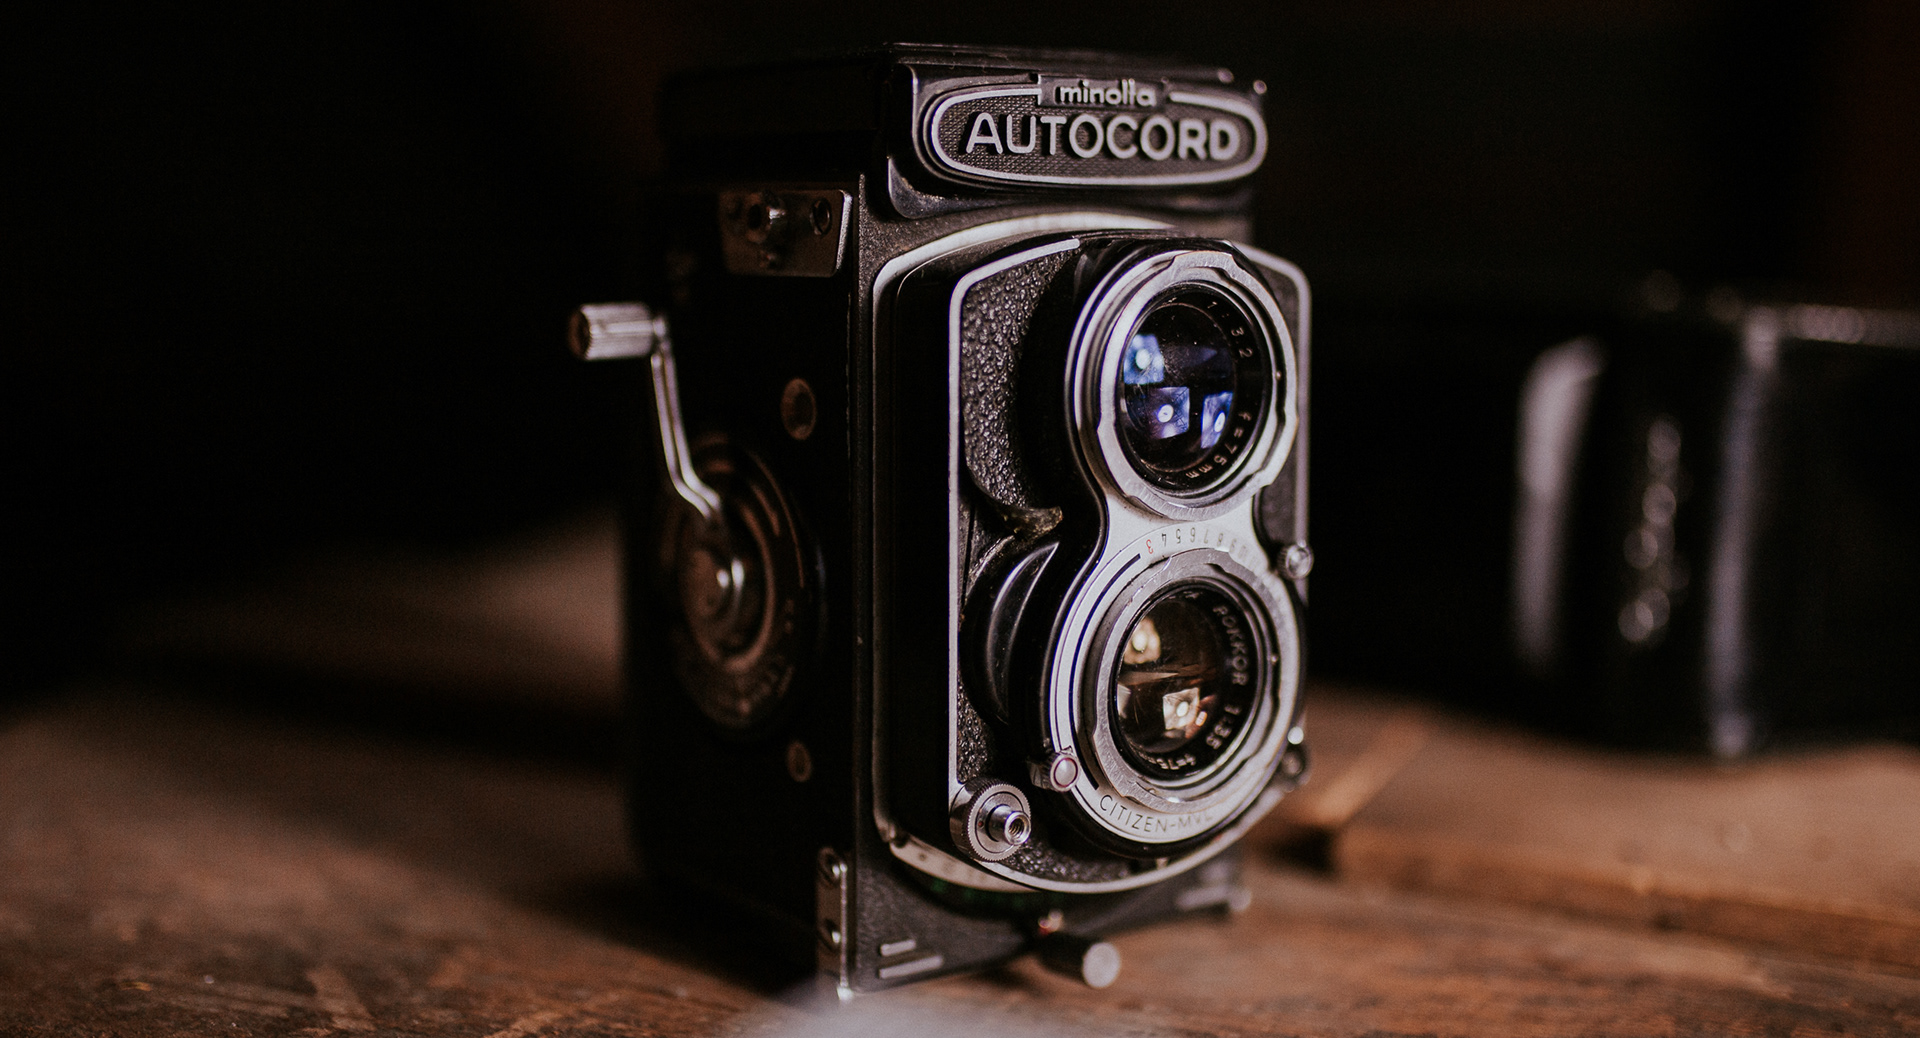
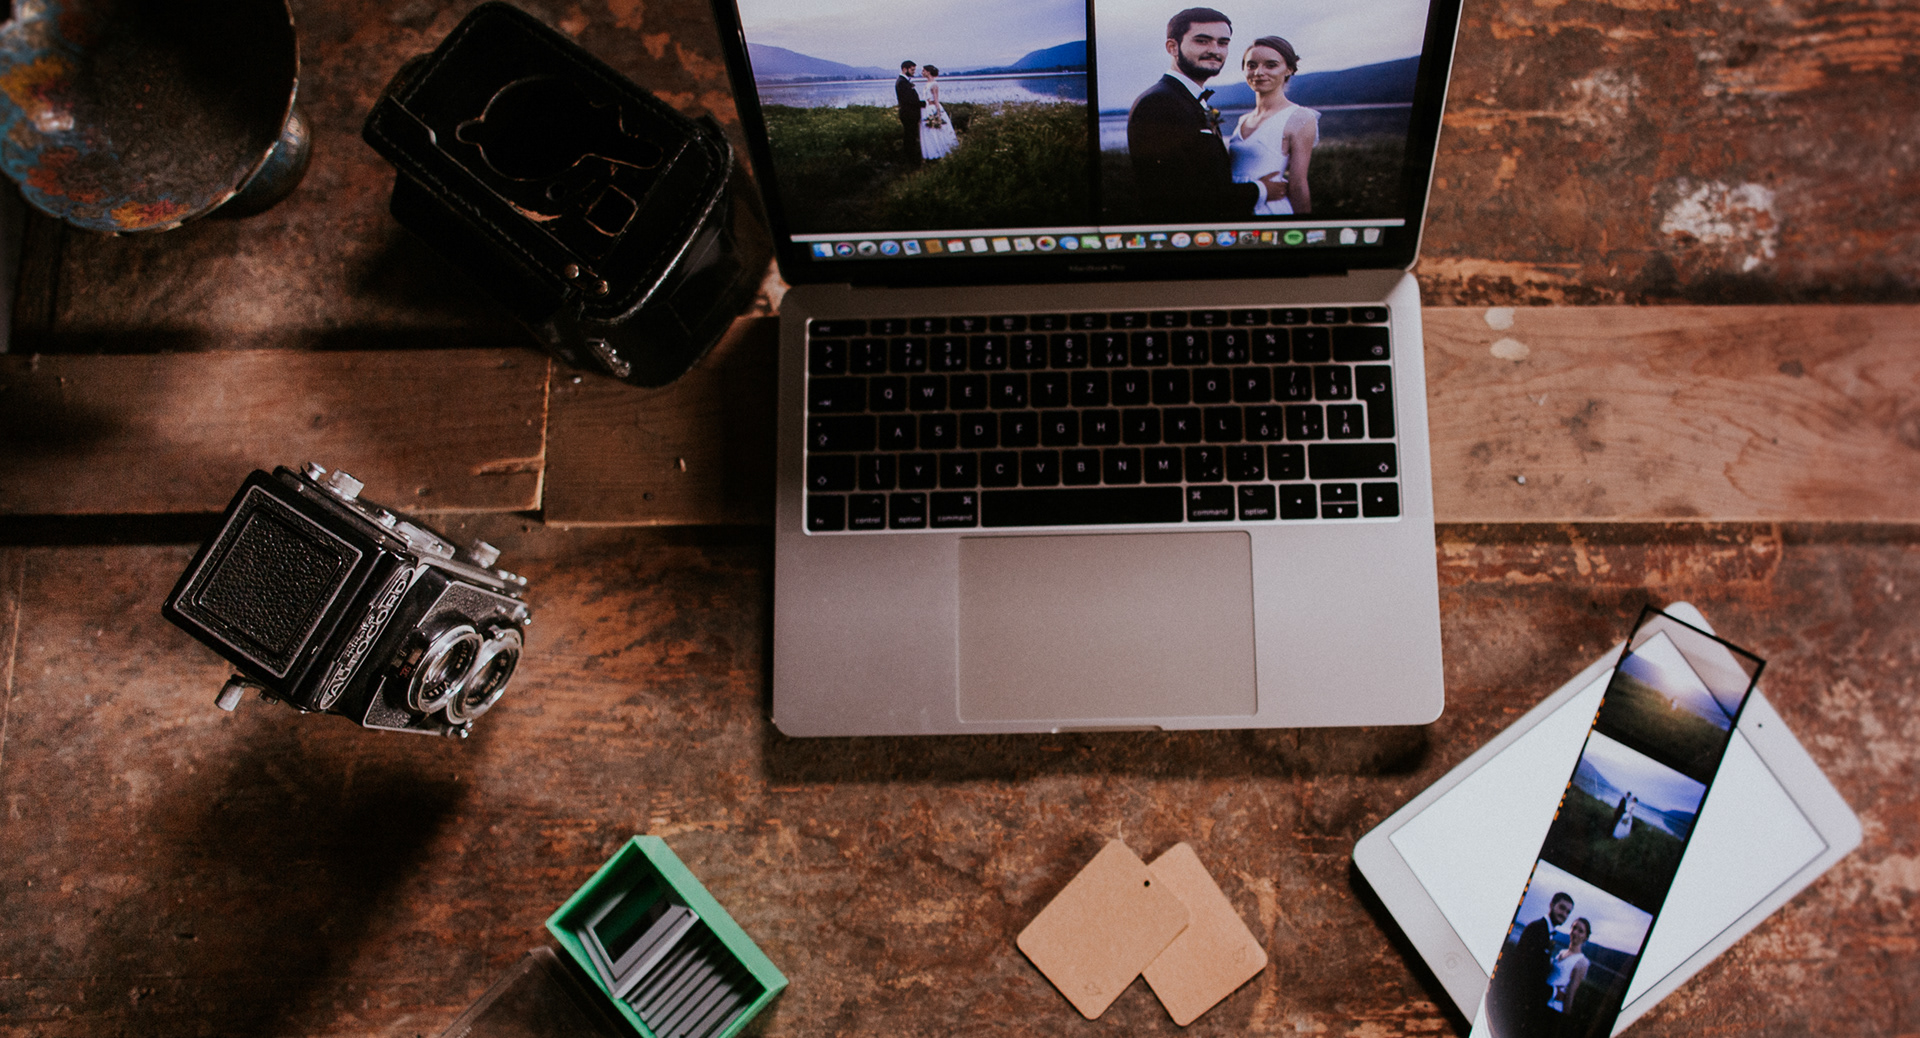
I used to work with Minolta Autocord manual medium format from 60’s and I measured it with the help of applications in my phone. Life paradox. I use the Lux – Professional on iOS and Sun Suveyor for the position of the sun. First app has never disappointed me, I set up with it everything I needed really, and the result was, well, precise. As regards the second app, to know the position of the sun is great for a golden hour lover. Second film was shot with Canon EOS 50 with current modern glass, mostly Sigma art 35mm. And also Lomo, the Untamed Beast.
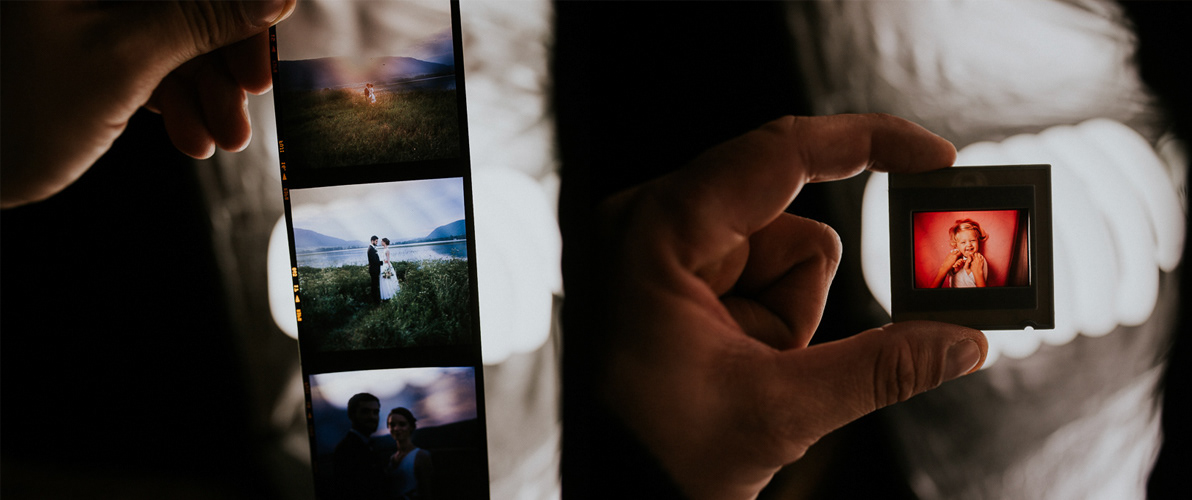


You can screen developed Velvia on the wall at home or just admire the picture in the plastic box (sometimes in the metal, too, ooh). You can scan it as well. But that is the chapter for itself. If you have an expensive scanner, then you can laugh at me and press the X. If you have a cheaper film scanner, just like me, than you should know that I have tried many methods of how to achieve the best output. Ideally, you can scan it into RAW and try to correct oversaturated positives. You can try to “take a photo” of the film – the result of this process is not completely vain, the problem is a bit with the sharpness. You can also send it to experts and avoid being amateurish. For example, if you are from EU, Spaniards who use NORITSU HS-1800, take a note!


Conclusion. For a person who works as a photographer or simply takes a lot of photos and 99% of them only on digital, the reverse film is a nice excursion. I also made a small private survey. I gave the slides to our visitors who came to our house - people who had no idea what is that. And their reactions were very positive (positive – positive, see what I did there?).
They were left a little bit charmed, I would say. And that is, probably, its greatest advantage.